


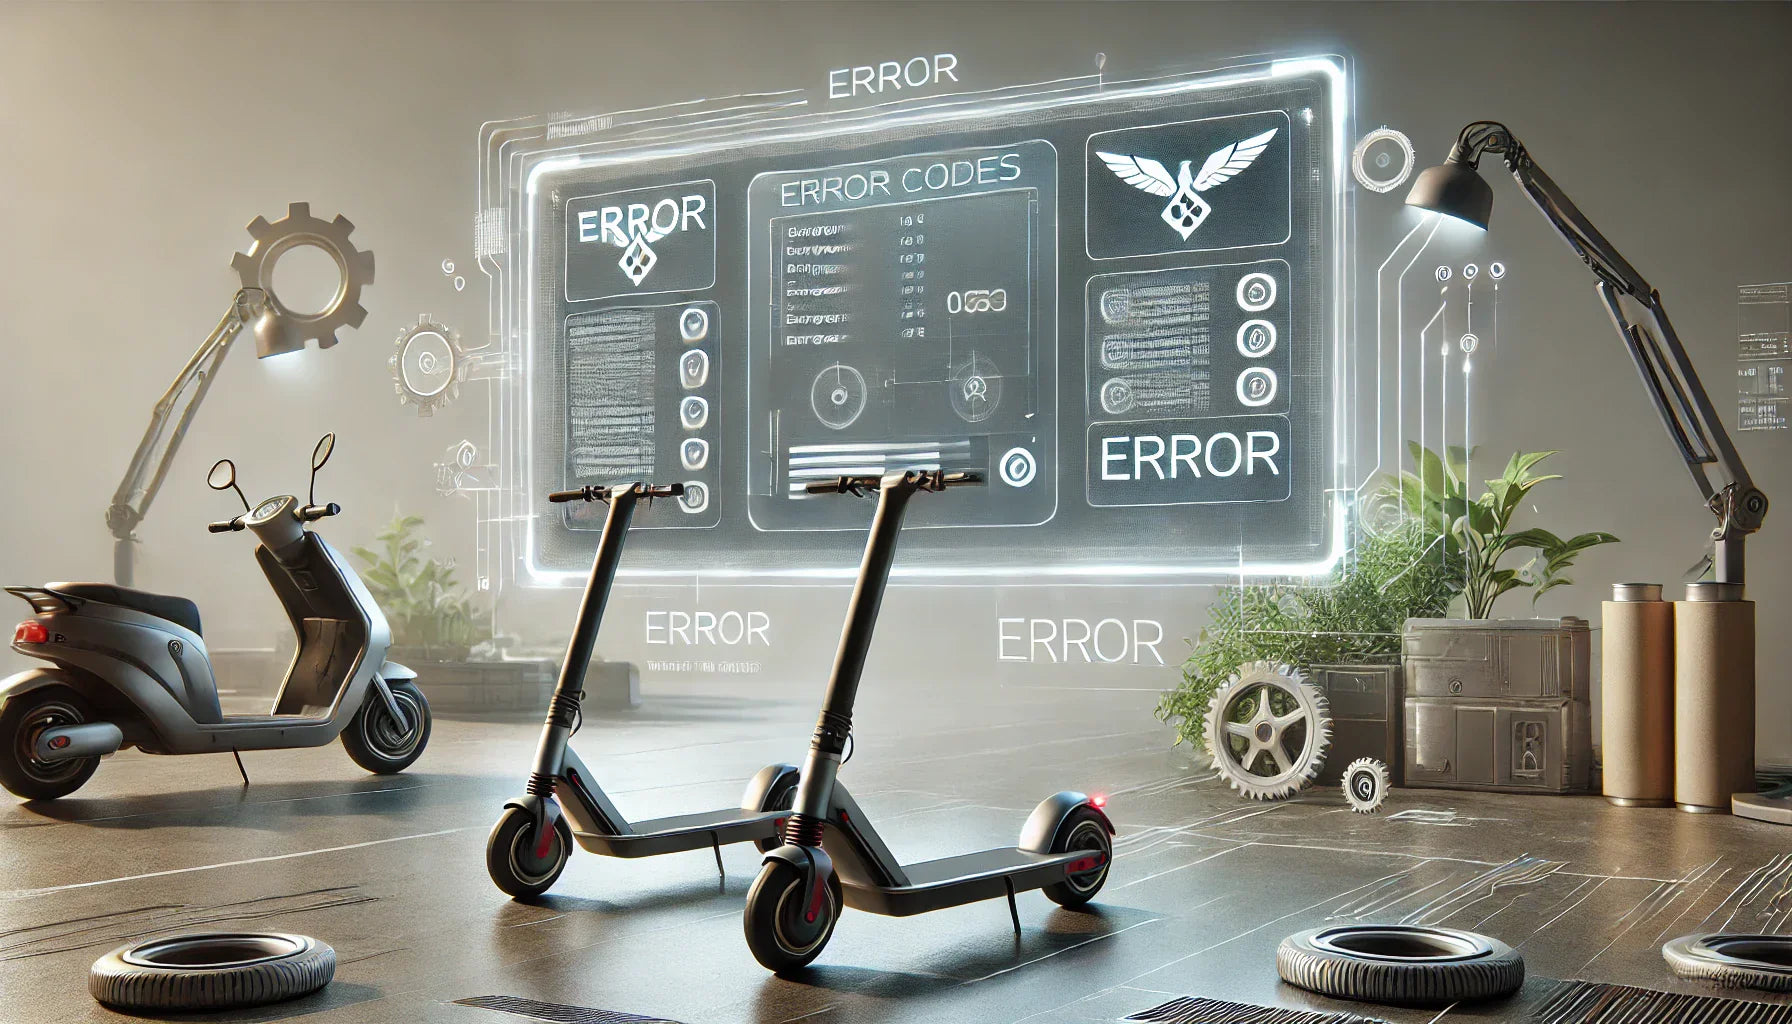
Every Rider's Worst Nightmare... Error Codes
VSETT has a stelar reputation in the industry for build quality, design, and performance, but even the best can have their hiccups. In this article we'll be taking a look at the various error codes you can encounter and how to troubleshoot them.
Error Code 00: Normal Status
This error is the exception to all of the others, it could mean one of two things.
1. Your system had a fault detected somewhere that has since resolved itself or it was detected in error.
2. You have a system error that will arise via another error code in the future.
Troubleshooting Step: Turn the scooter off and on again to reset your system
Resolution: Normally, after reset, the error code will not pop up again.
Error Code 02: Brakes
This error is the result of a malfunctioning brake. Whether it's a brake lever that's not functioning properly or brake calipers not going back to their original position, something in your braking system is not working properly.
Troubleshooting Step: Work your way from the top down. Start at your brake lever and ensure that after being pressed, it springs back to its original position.
Resolution: After giving a few hard presses if it does't spring back to the original position, work to find the source of the blockage.
Troubleshooting Step: If the lever is functioning properly, move onto the calipers. Here we'll need to check that the brake lines spring back to their original position.
Resolution: If they aren't use a little WD40 to make sure it springs back to original position. If both the lever and the calipers are in proper working order, do a reset of the scooter and the error code should go away.
Error code 06: Battery Under Voltage
When most riders see this and look it up somewhere, their first thought is "oh no, my battery must be failing!" Considering it's an electric scooter, that concern is fully warranted, but there are some simple setting adjustments that may be causing this malfunction and the problem isn't as dire as it seems.
Troubleshooting Steps: Check your LCD and access the P03 and P15 settings. Give the battery a full charge and see if the issue persists.
Resolution: Some factory settings are set lower than is what's optimum for function and performance. For example, in some cases, the VSETT 10+ 60V 28ah will have its P03 setting set at 52V, this should be set to 60V. The P15 (voltage cutoff) setting should be set to the specified voltage in the manual for your model. If you've misplaced your manual or are unsure, you can also check your controller and it'll have it listed on the label.
Error Code 07: Motor Fault
This error can be an especially alarming one, much like the battery, because the cost of replacement (outside of the warranty) can range from $150-$500 depending on the model you have. Generally speaking, the VSETT motors have been proven to be of good build quality, so let's check some other things that could've triggered the E07.
Troubleshooting Steps:
1. Unplug the motor wire (phase wires) and plug them back in until you hear a secure click sound to see if the code persists. Also, repeat this process with the Hall Sensor to ensure it's securely connected.
2. Check the motor wire and connector pins to see if there are any issues or signs of wear or damage. This will usually appear like wires fusing together because of heat, so check the length of the wire from the connection to the motors to ensure they're in good working condition.
3. Before turning the scooter on, check for magnetic resistance in the motor. If the tire spins freely, you're good to turn it back on and test it. If resistance is present, disconnect the phase and hall sensor wires entirely and check again for resistance.
Resolution: If #1 worked for you, fantastic, you're ready to go. If not, and the connections in step #2 all look solid and no signs of wear, you may need to replace the motor entirely.
Error Code 07 Additional Step for Dual Motors
Additional troubleshooting Step:
Unplug the Phase Wire and Hall Sensor wire and plug them into the opposite motor connections. In doing so, this will help you easily determine which motor is causing the fault.
Error Code 08: Throttle
This error code comes up when the throttle isn't reacting as it should to the rider. For this troubleshooting you'll need a #3 Allen wrench.
Troubleshooting Steps:
1.Use the Allen wrench to loosen the LCD display and flip it over the handlebar so the backside is facing up.
2. Unplug the connection to the LCD.
3.. Remove the back panel of the LCD.
4. Check the throttle magnet (make sure it hasn't moved out of position) and hall sensor for damage or disconnection. The hall sensor will have 3 links on it, all 3 must be in tact.
5. Check the throttle spring to ensure its seated correctly and functioning as it should. The trigger should immediately spring back to its original position if functioning properly.
Resolution: After steps 1-5, you should be ready to ride, but if an error code still persists, you will need to replace the LCD/Throttle assembly entirely.
Error Code 09: Controller
When thinking of the controller, think of it as the nerve center of your scooter. Unfortunately, when E09 comes up on the display, this is not a good sign. For most situations, this means something has burned out as a result of harsh riding, water damage, or your MOSFET burning out.
Troubleshooting Steps:
From a troubleshooting standpoint there is not a list of steps to try and fix the problem, rather steps that need to be taken to ensure that the E09 code is truly a controller. Each retailer of VSETT products is different, but this is a warrantied part so they'll ask for a video confirming this issue. Here's what will need to be included in the video:
Place your scooter above ground level (on a crate, chair, jack stand, etc.), take the deck cover off, take a continuous video with the VIN number and the controller serial number in the shot, and then film the issue at hand. This should give the engineer looking at the video a good idea what the issue is.
Pro Tip: If you're going to describe the issue in the video, do so at the very beginning before filming the actual issue. Talking over noises motors/rotors/etc. make, makes the diagnosis more difficult.
Resolution: Change out the controller entirely. One note, the white wire going to the controller is the speed limiter, if that is not something you need to remain lawful while driving the scooter, leave it disconnected. Otherwise, it is a wire for wire hookup and will be fairly straightforward.
Error 10/11: Communication Fault
E10: Communicating fault
E11: Receiving Fault
These error codes most often present themselves when quick twitch turning of the handlebars happen and a loose connection is the result. There are 2 steps we can go through to check to make sure the wiring harness didn't produce a code in error.
Troubleshooting Steps:
1. Gain access to under your deck and search in front of the controller for the round black waterproof connection to the wiring harness. In some cases it may be easier to remove the controller to gain easier access. Once you've found the connection, unplug and plug it back in to ensure a proper connection.
2. Check the round black waterproof connection going into the LCD display to ensure it is properly connected and sealed.
Resolution: After going through Steps 1 and 2 you should be in good shape. If the problem persists, you will have to replace the wiring harness entirely.
Summary:
So there you have it, a completely list of the most common error codes you'll encounter while riding your VSETT scooter. Knowing what these codes mean and how to quickly diagnose the issue will make fixing them and getting back on the road that much easier. In a perfect world riders would never get an error code, but after reading this, hopefully getting one will be a little less worrisome.
Happy Riding!
Reference Picture:


